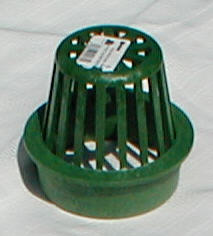
Atrium Grate
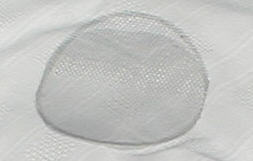
Screen
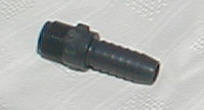
1/2" male adapter
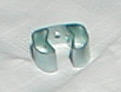
Clip
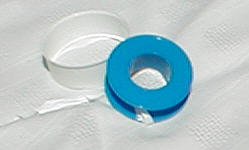
Teflon Tape
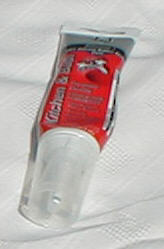
silicone caulk
Not pictured:
Hose
Garden Hose Adapter
Barrel
| 1.
| Push the screen into the atrium grate so that it makes a slight dome shape. Put the atrium grate into the top hole in the barrel.
|
| 2.
| Screw the clip into the pilot hole, which is near the top of the barrel and directly above the bottom hole.
|
| 3.
| Put silicone caulk on the non-threaded end of each 1/2" male adapter and slide onto both ends of the garden hose.
|
| 4.
| Wrap teflon tape around the threads on one end of the garden hose, put silicone caulk on the taped threads, and screw on the garden hose adapter.
|
| 5.
| Screw the other end of the hose into the hole at the bottom of the barrel. Then un-screw. (This step cuts threads into the plastic.) Now, put silicone caulk on the threads and re-screw into the barrel.
|
| 6.
| Put the hose into the clip, leaving enough slack so that there is no pressure on the joint at the bottom of the barrel. Let the joint set up by leaving in a dry place for 24 hours.
|

 New Postings
 Board
Board